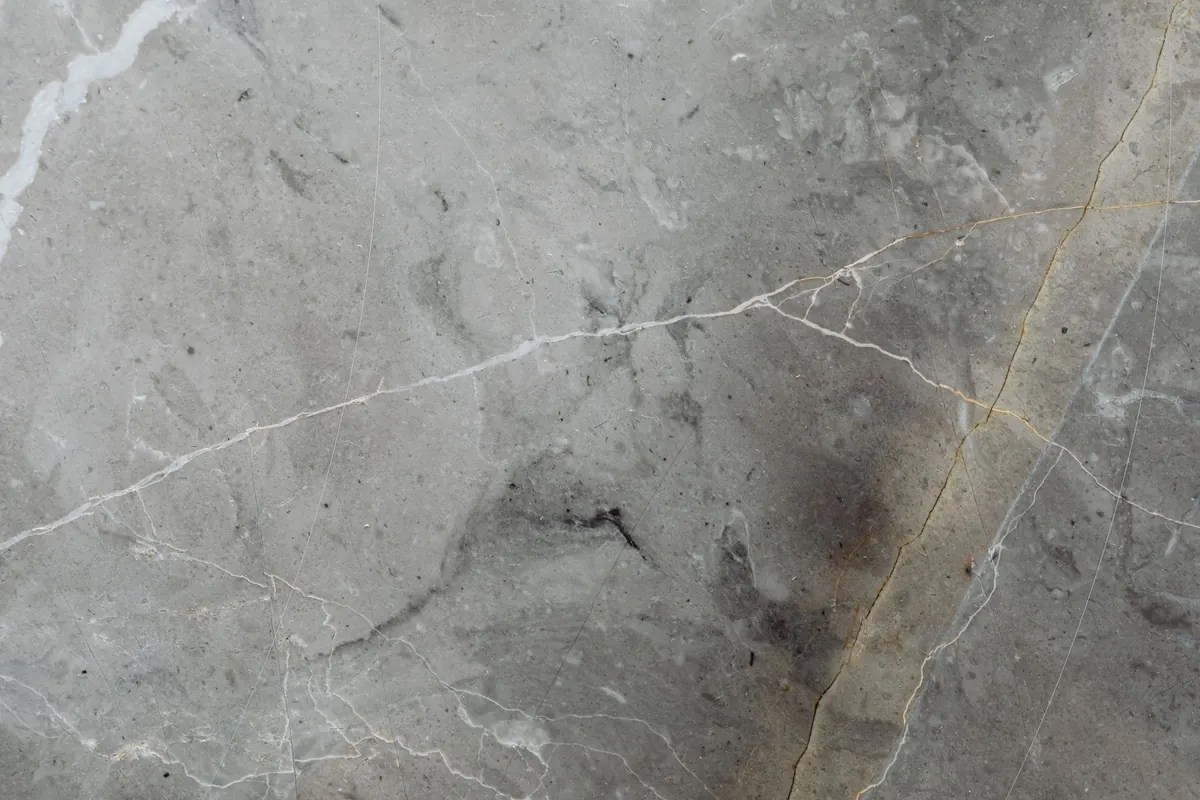
A stone slab is not a picture. It is a piece of geology with a surface, an edge, a back, and a history. The photograph that sold you on the material may show a creamy background and a dramatic sweep of gray; the slab in the yard may show a second vein you did not expect, a repaired corner, or a polish that catches the light differently from one end to the other. None of that is necessarily a problem. The problem is discovering it after the stone is cut.
Inspecting slabs is a craft in itself, and it rewards a slow, methodical visit. Bring a notebook, a tape measure, a pair of calipers if you have them, a bright flashlight, and a rag. Wear shoes you do not mind getting dusty. The goal is not to find fault for its own sake; it is to understand exactly what you are buying, how it will behave when fabricated, and whether it belongs in your project. A good inspection also tells you what questions to ask the yard and the fabricator before money changes hands.
Start With Light, Angle, and a Wet Rag
1. Inspect in neutral, raking light. Overhead fluorescent light flattens stone. It hides swirl marks, dull patches, and small filled pits. Where possible, view the slab in daylight or under a neutral LED, then angle a flashlight across the surface at a low angle. Raking light reveals what straight-on light conceals: faint scratches, resin shrinkage, and the difference between a true polish and a surface that has been buffed to look shiny. Wet half the slab with a rag. Water darkens the stone and shows color and veining more honestly, especially on honed or brushed finishes. Let it dry before you make a final judgment, because some stones change character when wet. For example, a quartzite that looks uniform under warehouse fluorescents may reveal faint resin-filled fissures when the flashlight is held almost parallel to the face.
2. View the slab as it will be installed. A slab lying flat on a rack is not the same object as a vertical wall panel or a horizontal countertop. Ask the yard staff to tip the slab upright, or at least view it from the height and distance it will occupy in the finished room. Step back. Step close. Look along the surface from the side. If the stone will be bookmatched, inspect the pair together rather than one slab at a time. Orientation matters, too: a vein that runs beautifully across a horizontal island may look restless on a tall backsplash. A dramatic diagonal vein that seems balanced on a flat rack can become a distracting arrow pointing toward the sink when the slab is standing vertical.
3. Confirm the finish is uniform. Run your eyes—and your fingertips—across the whole face. On a polished slab, reflections should stay crisp and consistent. Dull patches, cloudy areas, or a subtle waviness can indicate an uneven polish or a previous repair. On honed, brushed, or leathered finishes, check that the texture is even and that the sheen does not jump from matte to glossy in one corner. Look for scratches, swirl marks, and small pits that have been filled. Some pits are natural and part of the stone's character; the question is whether the fill is stable, color-matched, and likely to remain visible after fabrication. Run a fingernail lightly across a filled area; if it catches, ask how the edge will be finished and whether the repair can be re-polished. On a leathered finish, compare the sheen at both ends—a patch that looks smoother or shinier may be a sign of a repair or inconsistent finishing.
Check Edges, Corners, and Thickness
4. Examine edges and corners closely. Chips, dings, and repaired corners are easiest to miss when you are focused on the face of the slab. Look at all four edges, not just the front edge that will be visible. A chipped corner can sometimes be trimmed away; a chip in the middle of a long edge may force a different cut plan. If the design calls for a mitered edge or a thick built-up edge, inspect the slab's edge color and texture, because those will be exposed. Ask whether any corner repairs are epoxy fills or dutchman patches, and whether they will fall inside a cutout or on a finished edge.
5. Measure thickness and usable dimensions. Use a tape measure and, if you have them, calipers. Stone sold as 2 cm or 3 cm is nominal; actual thickness can vary slightly from slab to slab. Consistent thickness helps the fabricator produce clean seams and a level surface, especially with mitered edges and undermount sinks. Check length and width against your template, remembering that saw cuts, overhangs, and cutouts consume material. A slab that measures large enough on paper can become too small once a seam, sink cutout, and edge profile are accounted for. Ask the fabricator to confirm the usable area, not just the overall dimensions.
Look at the Back, the Seams, and the Repairs
6. Turn the slab around. The back of a slab can reveal what the polished face hides: mesh, fiberglass reinforcement, epoxy lines, moisture stains, and crack networks. Look for loose mesh, peeling reinforcement, or dark patches that might suggest trapped moisture. Ask what treatments were applied at the quarry or importer. A slab that has been resined or meshed is not automatically a bad slab, but you should know about it because those treatments can affect how the stone cuts, polishes, and wears.
7. Inspect cracks, fissures, and repairs. Natural stone often contains fissures that are part of its geology. The important distinction is between a tight, stable fissure and a crack that may open or migrate. Gently run a fingernail across the line. If the nail catches or the line has a visible halo, ask whether it has been stabilized. Find out where the repair sits relative to your planned cuts. A repaired area hidden under a cabinet return may be fine; the same repair on a prominent island edge may not be. Ask whether the repair is epoxy, resin, or a dutchman patch, and whether it will accept a polish after cutting.
8. Check flatness, bowing, and twist. Place a straightedge across the slab and look for daylight underneath. A slight bow may be within tolerance and can be shimmed during installation, but a pronounced warp or twist can cause lippage at seams, make a large island feel uneven, or complicate a mitered edge. If you cannot bring a straightedge, sight along the slab from one end and ask the yard to check flatness before delivery. Flatness matters most on wide, uninterrupted surfaces where the eye is quick to notice a rock or a dip.
Plan Cuts, Veining, and Layout Before You Commit
9. Map cuts and vein direction. Bring your dimensions or, better, a fabricator's template. Ask the fabricator to sketch the layout on the slab with tape or a grease pencil—or do it yourself and photograph it. Mark sink, cooktop, faucet, and outlet locations. Check where seams will land and how the veining will flow across them. If bookmatching, view both slabs together and decide which faces meet. A vein that is stunning as a vertical backsplash may look too busy across a wide island, and a quiet section may be better reserved for a visible edge. This is also the moment to check that a dramatic vein will not be cut in half by a sink or hidden behind a cabinet.
10. Confirm identification, bundle, and quantity. Check the slab label, bundle number, finish name, thickness, and lot. If your project needs more than one slab, inspect all of them together. Stones from different bundles can vary in background color, vein density, and even thickness. Confirm how many slabs are being held, whether they are reserved in writing, and what happens if one is damaged during fabrication. Photograph the labels and the slab surfaces; notes and images are useful if a question arises later.
Questions to Ask Before You Leave the Yard
A careful inspection is only half of the visit. The other half is getting clear answers about what happens after you choose. Ask the yard or fabricator:
- Is this slab reserved for my project, and for how long?
- Has it been resin-treated, meshed, or repaired, and where?
- Are all slabs for this project from the same bundle and lot?
- What is the return or exchange policy if the slab is damaged or does not match?
- Can I see a sample of the finished edge and surface treatment?
- What is the lead time, and who is responsible for checking dimensions before cutting?
Get the important answers in writing if you can. A salesperson's assurance that “it will be fine” is not a substitute for a note on the order that says the slabs are reserved, the finish is confirmed, and any repairs have been disclosed. This is especially important with natural stone, where the next slab may not look like the one you approved.
Document the Decision, Then Let the Fabricator Work
Before you leave, take photographs of the full slab, the label, any repairs, and the layout marks. Note the date, the yard, the slab numbers, and the name of the person who helped you. If you are choosing from several slabs, photograph them side by side. These records are not about being suspicious; they are about protecting a decision that is difficult to reverse once the stone is cut. Stone is heavy, expensive to move, and often non-returnable after fabrication begins.
Finally, remember that inspection is not a hunt for a flawless slab. Natural stone is variable by definition. The goal is to know which variations are part of the material's character and which ones affect structure, layout, or maintenance. A slab with a visible fissure may be perfectly sound if it is stabilized and placed away from a critical edge. A slab with a uniform surface may still be wrong for your project if its veining runs the wrong way or its thickness will not support the edge detail you want.
Inspect the stone as a whole object—face, edge, back, and future cuts—and you will make a decision you can live with long after the sawdust has settled.
Photo: RiccoStange / Pixabay