A carved corbel, a moulded fireplace surround, a basin hollowed from a single block — finished details like these look inevitable, as though the stone had always intended to take that shape. The work behind them is mostly invisible by the time the piece arrives on site. Weeks of decisions, a few mistakes avoided, and a great deal of careful removal sit between the raw block in the yard and the detail that leaves the workshop. Here is what that process actually involves.
The Work Begins in the Yard, Not at the Bench
Long before a chisel touches stone, someone has to choose the block. In a workshop that carves by hand, this is a skilled judgement rather than a matter of ordering a size.
The first consideration is the bed. Natural stone has a grain direction set when it was formed, and carving with or across that bed changes how the tool behaves. Work a chisel against the bed and the stone may tear or spall; work with it and the cut comes away cleanly. A carver running a hand over a fresh face is reading that direction before anything is drawn.
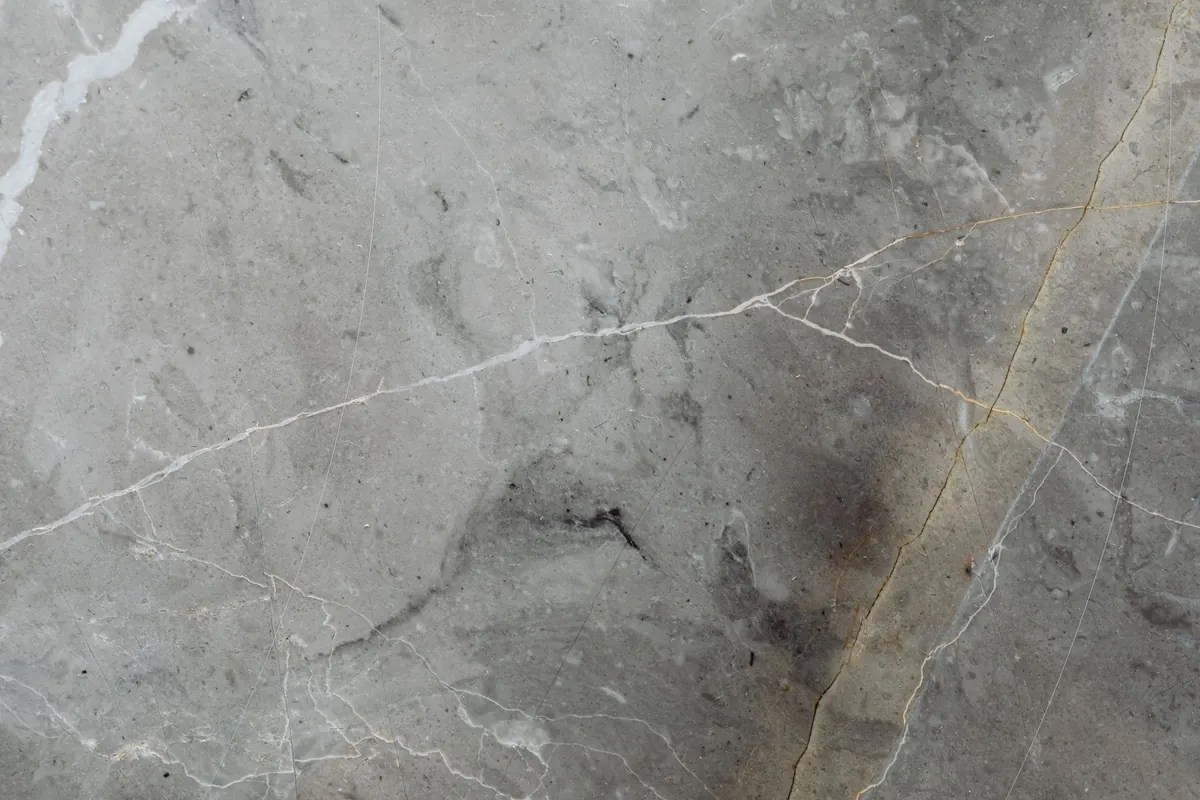
Then there is the pattern. Veining and colour shift through a block, and where a vein lands in the finished piece matters. A strong streak running straight through the centre of a carved capital can look like a fault; the same streak placed along an edge can look deliberate. For a scheme with several pieces — a run of corbels, a set of window surrounds — the blocks need to be selected together so the colour and marking stay consistent across the whole installation.
Soundness comes next. Tapping the block with a hammer tells you a lot: a clear ring suggests solid stone, a dull thud may hint at an internal fissure. Carvers also look for hairline cracks, sandy pockets, iron spots that can bleed rust stains later, and soft patches that will not hold a crisp edge. A block may be perfectly good for a plain ashlar panel and entirely wrong for a thin projecting scroll.
Freshly quarried stone often carries residual moisture and is softer and easier to cut, but it also moves as it dries. Many workshops let blocks rest before carving so that any movement happens before the detail is cut rather than after.
Drawing the Detail Before Cutting It
Carving to a small sketch is a recipe for a piece that looks wrong from three metres away. Profiles and mouldings are drawn at full size — on paper, on plywood, or chalked directly onto the workshop floor — so proportions can be judged at the scale they will be seen.
For anything complex, such as a capital, a console bracket or a carved basin, a small clay or plaster maquette comes first. It is quick, cheap to adjust, and gives both carver and client something to agree on before expensive stone is committed. Many workshops will not start cutting until that model has been signed off.
From the drawing come the templates. A section profile cut from zinc, plywood or rigid plastic can be offered up to the stone repeatedly as work progresses, catching a drift in the moulding before it becomes a problem. The block itself is then set out with face side, face edge, centre lines and datums, marked in pencil or in red ochre. Those lines are the reference for everything that follows, and once they are cut away they cannot be recovered.
Roughing Out: Removing What Isn't the Detail
The first stage of carving is mostly about taking material away quickly and safely. Depending on the workshop and the piece, that might mean a stone saw, a pitching tool to break off the corners, a point chisel worked with a mallet, or a claw chisel to bring the surface down towards the form.
Why Carvers Always Leave Too Much
Stone does not go back on. Every experienced carver works down in stages, leaving a margin of perhaps a centimetre or more around the finished profile and reducing it in passes. It feels slow to an observer and it is the fastest way to finish. Roughing out also follows a sequence: the largest masses come off first, then the secondary forms, then the detail. A thin projecting edge carved early will simply snap off when the mass behind it is removed.
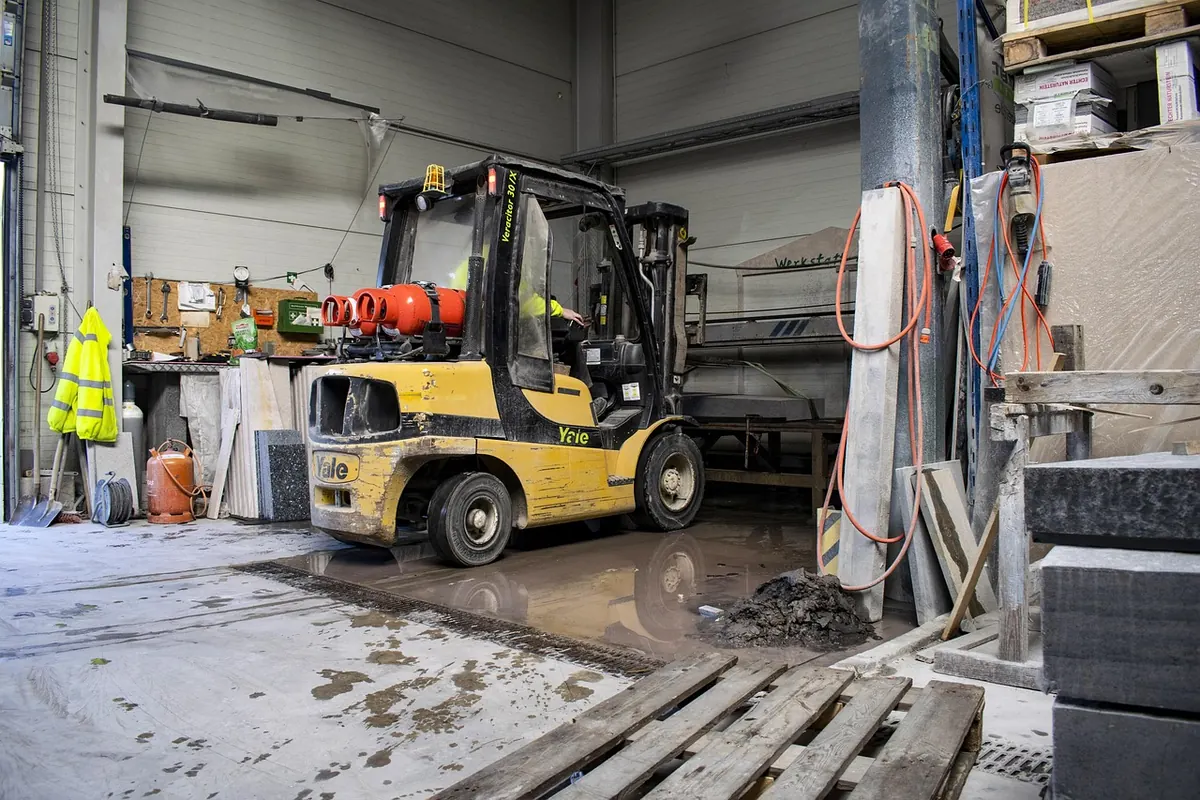
Stone dust is the other thing to plan for. Cutting and carving generate fine silica dust, so workshops use water suppression or extraction, and carvers wear proper respiratory protection. If you visit a working workshop, expect it to be noisy, wet and dusty — and expect the carver to stop and put a mask on before making a cut.
The Carving: Chisel, Mallet and Judgement
With the bulk removed, the work slows down. This is where the detail gains its character, and where the difference between a machined profile and a hand-carved one shows.
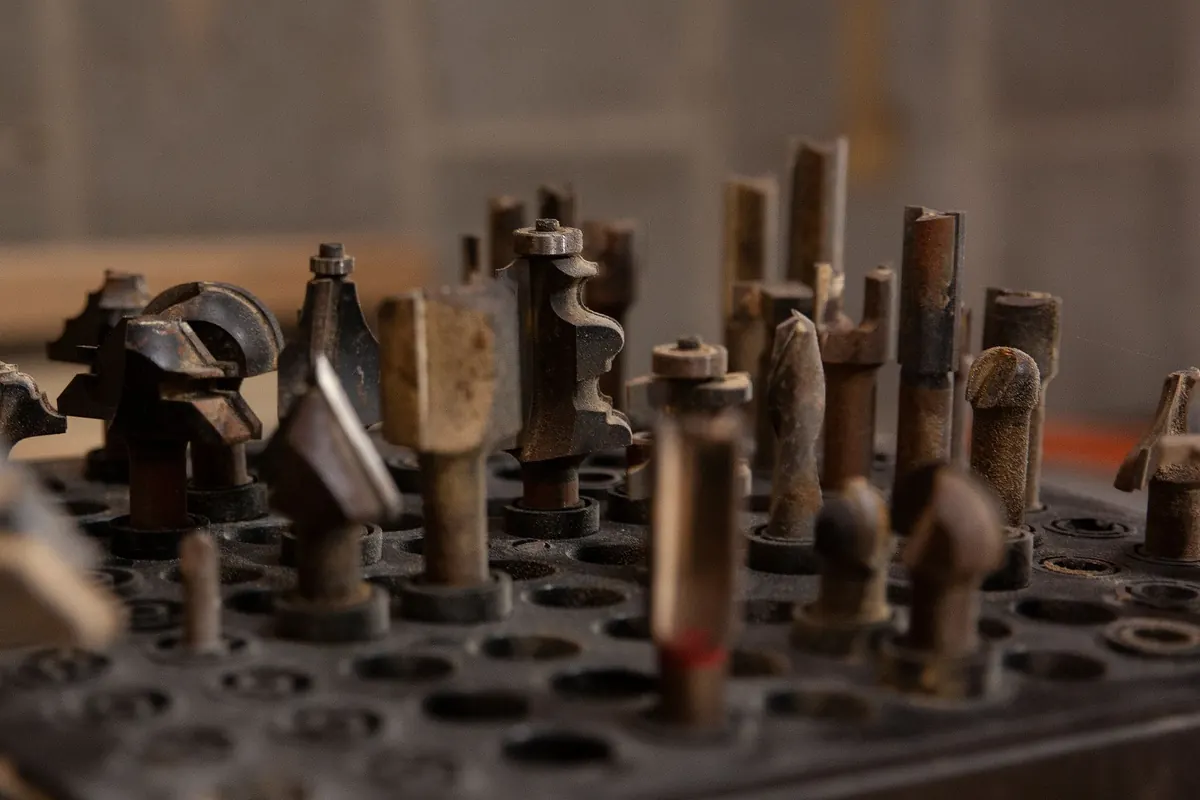
The Tools and What They Do
- Point chisel: removes stone quickly and leaves a pitted surface; used for rough shaping and for knocking back large areas.
- Flat and bullnose chisels: establish planes, run flat surfaces and clean up edges; the bullnose reaches into curves.
- Claw or tooth chisel: takes down surfaces in a controlled way without digging in, and leaves the characteristic rippled texture.
- Gouges: cut hollows — flutes, beads, the concave sweep of a leaf or a shell.
- Rifflers and rasps: refine small areas and tight curves where a chisel will not fit.
- Abrasives: remove tool marks where a smooth finish is wanted.
Reading the Stone as You Cut
The block keeps talking while you work. Carving in the wrong direction against the bed produces splintering and torn edges; the tool tells you within a stroke or two, and the response is to change the approach rather than force it. A carver working a moulding will often cut a run in one direction only, so that the light falls consistently along the length rather than showing a change of direction halfway.
Depth, Undercutting and Shadow
Detail on stone is as much about shadow as about shape. Undercutting — cutting back beneath a projecting edge — is what makes a carved leaf, a bead or a scroll read from a distance, because it creates a dark line the eye picks up. The skill lies in going deep enough for the shadow without leaving a projection so thin that it chips in service. On exterior work, especially in climates with frost, that balance matters more than ornament.
Finishing: Where the Detail Gains Its Character
Finishing is a design decision, not a cleanup step. Some work is deliberately left with visible chisel marks, which suits rustic and garden pieces and reads honestly at close range. Classical and interior work is usually taken down with abrasives so that the form speaks without the distraction of tooling.
The sequence runs from coarse abrasive to fine, worked evenly across the whole piece so that no patch ends up glossier or duller than its neighbour. On a multi-piece installation, finish samples should be compared side by side under the same light, because a honed surface on two different blocks can look like two different stones.
Edges get attention too. A crisp 90-degree arris is beautiful and fragile; a very slightly eased edge survives handling, transport and the first year of use far better. Finally comes the question of impregnation or sealing. Many dense stones need nothing at all, and some sealers trap moisture rather than protecting against it. The right approach is a test patch on an offcut of the same stone, assessed after it has cured, rather than a product chosen by habit.
Checking the Work: Tolerance, Fit and Dry Assembly
Before anything is packed, carved elements that will sit together are assembled dry in the workshop. Joints are checked for a consistent reveal, the piece is measured against the drawing and the templates, and any twist or wind is corrected while the stone is still on the bench rather than on a scaffold.
Each component is then numbered to match a setting-out plan, photographed as assembled, and protected at the edges for transport. Carved stone should always be lifted with slings around the main mass — never by a projecting detail, however solid it looks.
What to Ask Before You Commission a Carved Detail
A good workshop will welcome these questions, and the answers tell you a lot about how the piece will be made.
- Which block, and which quarry batch, will my piece come from — and can the other pieces in the scheme come from the same selection?
- Will the design be drawn at full size before any cutting begins?
- Can I see a maquette or a sample of the carved profile before the final stone is touched?
- What finish is proposed, and can I approve a sample on the same stone rather than a photograph?
- Is dry assembly in the workshop part of the scope, and will I receive the setting-out plan and photographs?
- Does the quoted lead time include drawing approval and sample sign-off, or only the carving itself?
- Who is responsible for lifting, delivery and installation on site?
Ask early, and ask in person if you can. A workshop visit — the block on the trestle, the templates on the wall, the half-finished corbel with its chisel marks still visible — will tell you more about the quality of the work than any finished photograph. Hand-carved detail is a record of a hundred small decisions, and the best commissions are the ones where the client understood those decisions while there was still time to shape them.
Photo: Karen Laårk Boshoff / Pexels