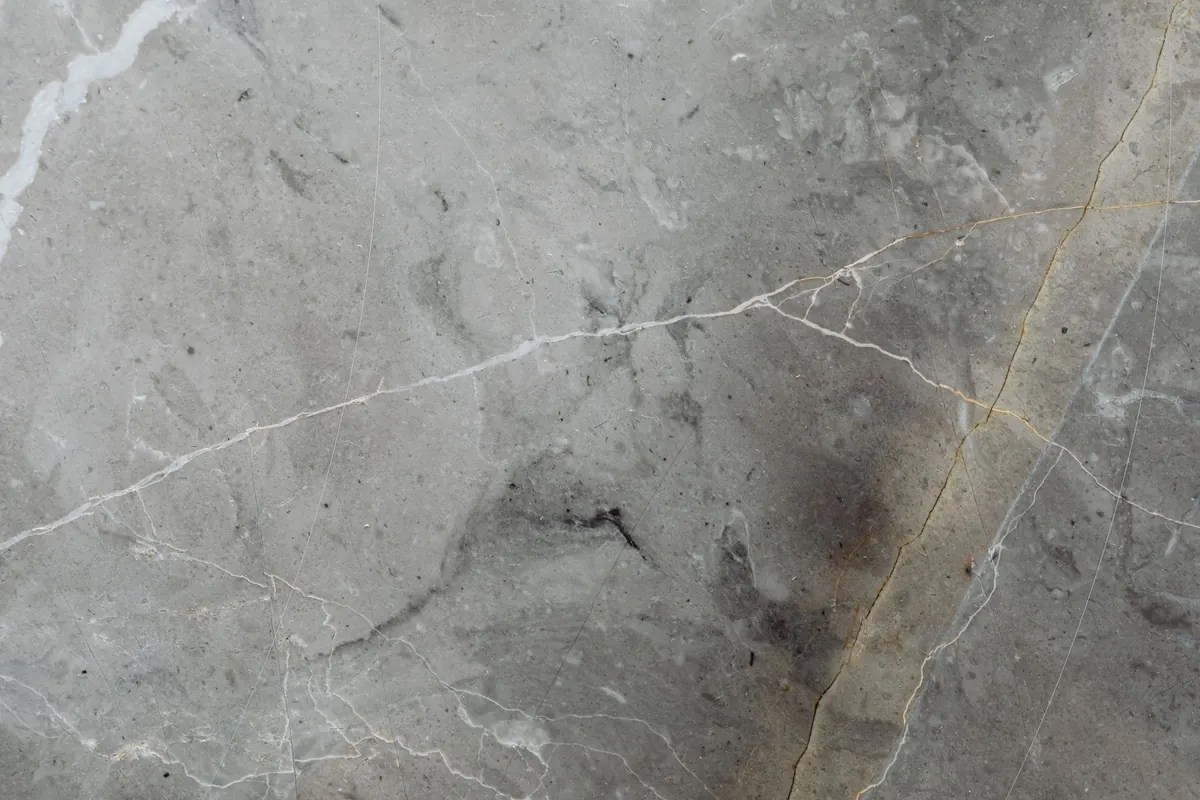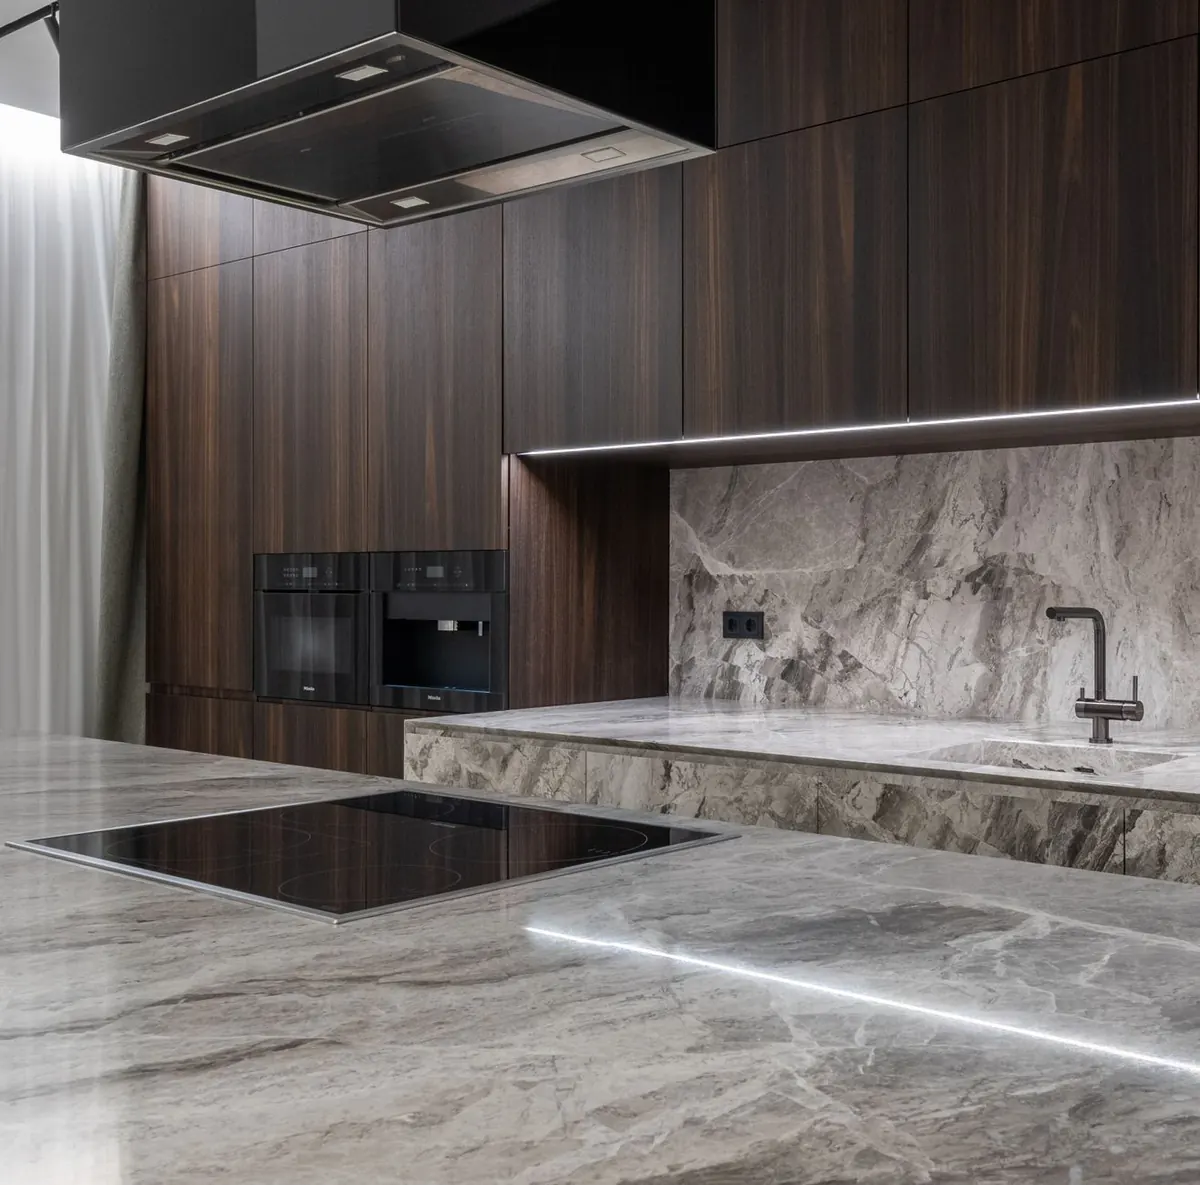
A marble countertop in a working kitchen takes a beating that has nothing to do with how carefully you chose the slab. Flour works into the surface. Someone sets down a glass of red wine and forgets it. A lemon half sits there overnight. Sealing won’t make marble bulletproof — nothing will — but a penetrating sealer buys you the minutes you need to wipe up the olive oil before it becomes a shadow that lives in the stone for years. The job takes roughly forty minutes of actual work, most of it waiting for something to dry.
What a Sealer Does, and What It Doesn’t
Marble is calcium carbonate. Acid eats it, which is why a vinegar spill leaves a dull mark that no amount of scrubbing will fix. A sealer does not change that chemistry. It soaks into the pores and lines them with a water- and oil-repellent barrier, slowing the rate at which liquids soak in and giving you time to reach for a cloth.
That distinction matters, because homeowners often seal a counter expecting etch marks to disappear. They won’t. Etching is physical damage to the surface, and the fix is re-polishing or honing, not another coat of sealer. What sealing genuinely prevents is staining: coffee, wine, beet juice, oil, the ring under a bottle of soy sauce.
Two details worth knowing before you buy a product. First, most countertop sealers are penetrating sealers — they sit inside the stone and leave no film. Film-forming topical sealers belong on floors, not on a surface where you chop vegetables. Second, finish changes the equation: a honed or matte marble drinks up sealer faster and shows absorption more readily than a high polish. Light marbles tend to reveal oil stains; dark marbles show water rings and dried droplets. If yours is honed and light-coloured, plan on sealing on the shorter end of any recommended interval.
Step One: Test Before You Treat
Sealing a counter that doesn’t need it is wasted effort, and over-sealing can leave a hazy residue. The test takes five minutes and tells you exactly where you stand.
- Clean and dry a few spots: near the sink, at the main prep area, and one quieter corner.
- Place a small puddle of water on each — a teaspoon is plenty. Add a drop of cooking oil on one spot if you want to check oil resistance.
- Leave it for 15 to 30 minutes, then wipe with a dry cloth and look closely.
If the water beads on top and wipes away leaving no trace, the stone is still protected. If the spot darkens, or a faint ring remains after wiping, liquid is getting in and it’s time to reseal. Repeat this test every three months or so. It’s a far better guide than a calendar.
Step Two: Clean, Then Wait
A sealer locks in whatever is on the surface, so cleaning is not a formality. Use a pH-neutral stone cleaner or a little mild dish soap in warm water, applied with a soft cloth. Skip vinegar, lemon, bleach and scouring pads — all of them either etch the calcium carbonate or dull the finish.
Pay attention to the seams and the edges around the sink, where residue collects. Rinse with clean water and dry with a soft towel, then leave the counter alone for at least a few hours, ideally overnight. Trapped moisture is the most common reason a seal job turns patchy or cloudy. Don’t seal the same afternoon you’ve mopped the floor and wiped everything down with a wet rag.
Step Three: Apply Thin Coats
Read the label first and follow it over anything here — products differ in coverage, dwell time and cure time. Whatever the brand, the technique is the same: thin, even, and wiped off before it dries.
- Open a window. Work in sections you can finish in a few minutes, such as half an island or the run between the sink and the hob.
- Pour a small amount into a tray rather than dipping your cloth into the container, which contaminates the rest of the bottle.
- Apply with a lint-free white cloth or a purpose-made sealer pad, using overlapping strokes. The stone should look damp, not wet.
- Wait the time stated on the label — usually five to fifteen minutes — for the sealer to soak in.
- Wipe off the excess with a fresh dry cloth before it tackifies. Any film left to dry will show as a dull smear.
- Apply a second thin coat if the label recommends it, usually after 30 to 60 minutes. Two light coats beat one heavy one every time.
If you see streaks, you used too much or wiped too late. A second wipe with a clean cloth while the surface is still slightly damp usually evens it out.
Step Four: Let It Cure Properly
Curing is where busy kitchens undo a good seal. The sealer needs time to cross-link inside the stone, and water interferes with that process.
For 24 hours, keep the counter dry and free of clutter. No wiping with a wet cloth, no cleaning spray, no washing up water splashed across the surface. Solvent-based products may ask for 48 to 72 hours before full water exposure; the label is the authority. If someone spills something, blot it with a dry paper towel rather than wiping. Put a mat down if you absolutely must prep there, and move the fruit bowl, the knife block and the coffee machine off the surface until the time is up. Afterward, run the water test again — the droplet should sit up rather than spread and sink.
Living With a Sealed Counter
Sealers wear unevenly. The strip beside the sink and the busiest chopping zone thin out first, which is why spot testing beats guesswork. In a kitchen used daily, expect to reseal every six to twelve months; a lightly used surface may stretch to two years.
The habits that matter cost nothing. Use a board for chopping. Put a trivet under hot pans. Keep a mat by the sink. Wipe wine, oil and citrus promptly with a dry cloth, then a damp one. Never leave a vinegar bottle, a tomato tin or a cut lemon face down on the stone. And when a dull etch mark does appear — it will — remember it’s surface damage, not a sealing failure, and a fabricator can usually hone or polish it out.
A Schedule That Fits Real Kitchens
Keep a small bottle of sealer and a clean cloth under the sink, and write the date of the last application on the bottle with a marker. Once a quarter, put three water drops on the counter while the kettle boils and check them after breakfast. When the stone starts to darken, clean it properly, let it dry overnight, and spend half an hour applying two thin coats. That rhythm — one test every few months, one reseal a year — is all a marble counter needs to stay ahead of a household that actually cooks. For deep stains, etch marks or a surface that has lost its finish entirely, call a stone fabricator: restoration is a different job from sealing, and it’s worth having done properly.
Photo: Max Vakhtbovych / Pexels